When my employer decided to start selling some spare parts for the radio-controlled race cars it designs, manufactures, and sells, I began to familiarize myself with the processes so I could do my part. We are using Shapeways.com sell product. Shapeways (SW) hosts storefronts that take orders, prints the 3D parts, and ships them, very much like Apple iTunes hosts storefronts for app developers to sell their products.
SW receives the model files from the designer, prints it with its proprietary process in a choice of a variety of materials, including various plastics, aluminum, brass, steel, and other materials. Once printed, it is shipped directly.
Shapeways recommended several easy online tools to create our own items for uploading to SW. One of the free online programs that you can use to create 3D models is Tinkercad.com. I went there and familiarized myself with their software and created a couple of pen holders with them. Here’s how it works.
Tinkercad has ready-made basic shapes at the right of the main building area. Theirs is a building-block method of creating an object: you drag a shape, like a cylinder, and deposit it in the main area. You then change its dimensions to what you want, like the length you want your pen holder to be and its diameter.
Tinkercad also allows any shape to be used to hollow or cut solid pieces. For instance, you can drag another cylinder to the main area and make it a little longer but a couple of centimeters smaller in diameter. Then you click an icon to change it from a solid object to a hollow object. You position it in the center of the first cylinder, turning that cylinder hollow, like a straw. The “hollow” object subtracts material wherever it overlaps other material. If this cylinder was the main shaft of your holder, then you just made it lighter. You can see the two cylinders here, the hollow (striped gray) in the solid:

You can drag other shapes to either end or the middle to make the holder more interesting. Below is 3D printed plastic piece that was created entirely in Tinkercad, but printed by SW.
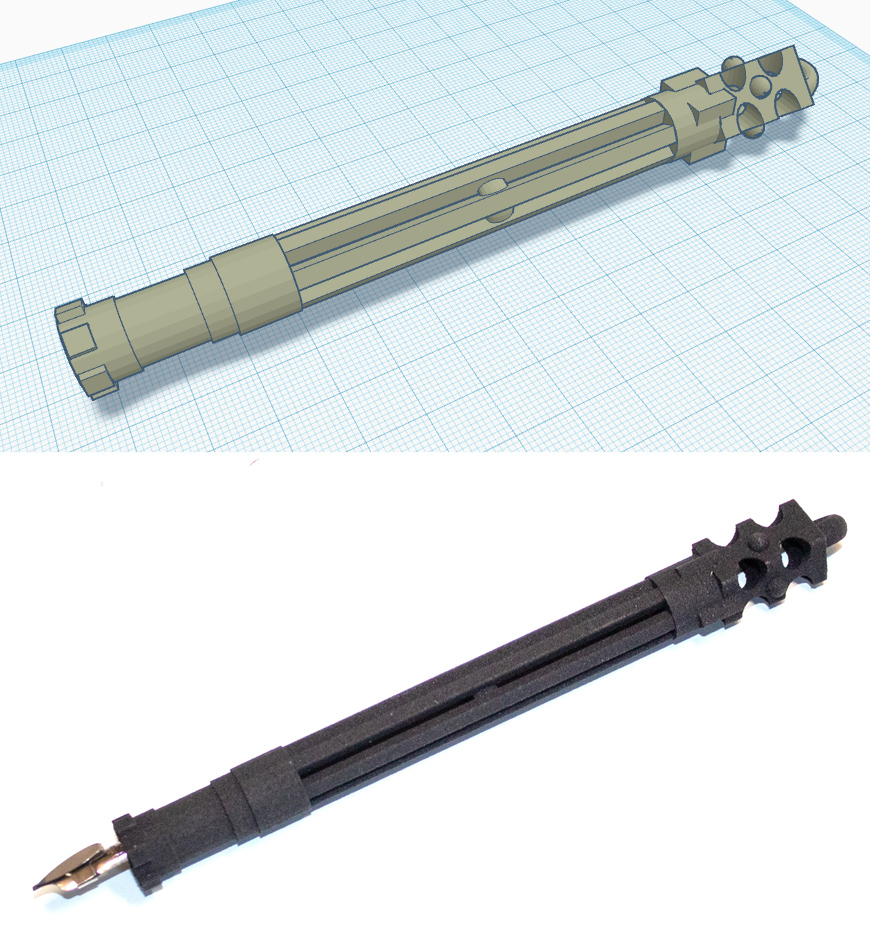
Top: design in Tinkercad. Bottom: 3D model printed by Shapeways.
When you are happy with your design in Tinkercad, export the file to your computer. Go to SW and upload the file you just made. Select the material and its options, like color. Pay and wait for it to be shipped. Different materials have different processing times before shipping. Plastics are processed faster than metals, for example.
The materials have minimum thicknesses and other restrictions on design to make a viable printed piece. For instance, my leaves-and-vines holder was initially rejected because the vines were too thin and could break during the cleanup part of the process. SW may inform you of a potential problem soon upon uploading the model, or via an email sent later, along with a notice of a refund of your order.
I also used a more complicated but free downloadable software program called Blender (Mac and PC versions available). This program takes a significant investment of time to learn compared to Tinkercad, but once grasped, the design possibilities expand significantly. You will be able to design anything you can think of with enough training. The screen grab from Blender below shows one of the pieces used in creating the leaves-and-vine holder.
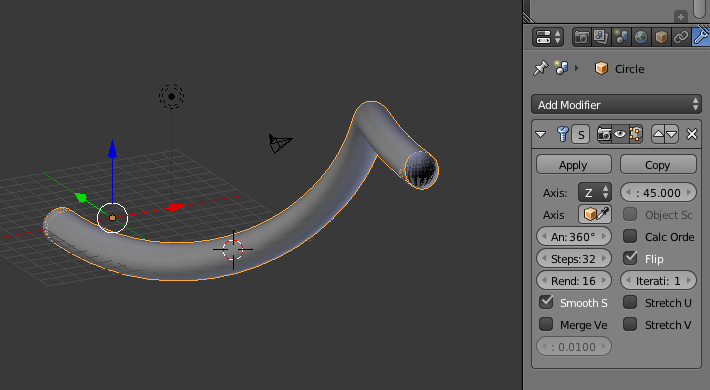
Part fabricated in Blender
Parts for my leaves-and-vines design holder was created in Blender, exported, then imported into Tinkercad, where I carefully assembled the pieces. The above piece was one of several to make this holder:
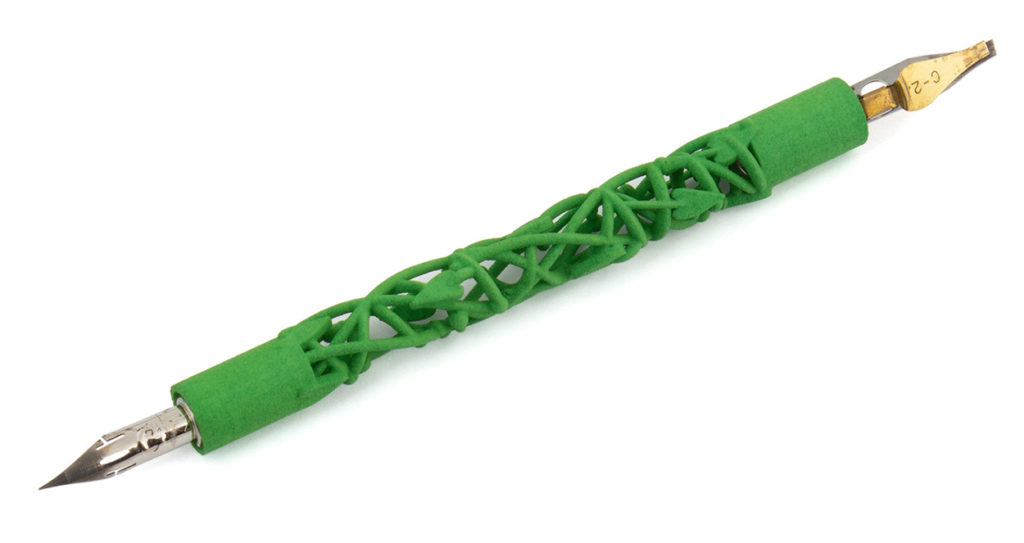
Leaves-and-vines holder
Take a look at a few other items I made.

3D items I designed
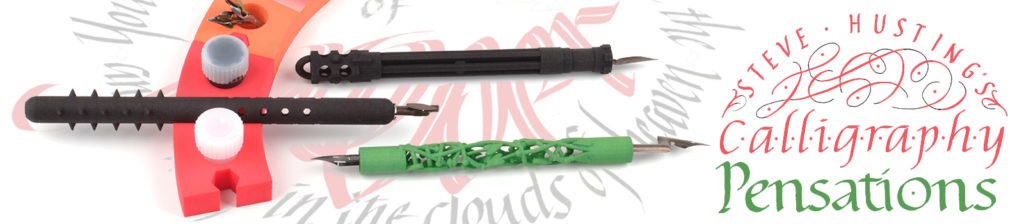
I now have a SW store, Calligraphy Pensations, where anyone may order the parts. I am displaying these parts in the Participants Exhibit room at the 2019 Letters California Style conference in Pomona, California.
When you are designing your own, it’s a good idea to take accurate measurements of your favorite pens so you have an idea of basic starting dimensions to work with. (The dimensions of the art appear on the screen when you grab the part’s “handles.”) I bought several ferrules (pen inserts) from paperinkarts.com so I can test them with my pens. They are available at https://www.paperinkarts.com/globus.html
The tricky part was making the end piece diameter where the ferrule goes in. That required several tries before getting it right. SW charges by the amount of plastic used, so you can design several ferrule holders and connect them together so they’ll be one piece (less expensive that way). See below for my test tips to test inner diameters for ferrule insertion.
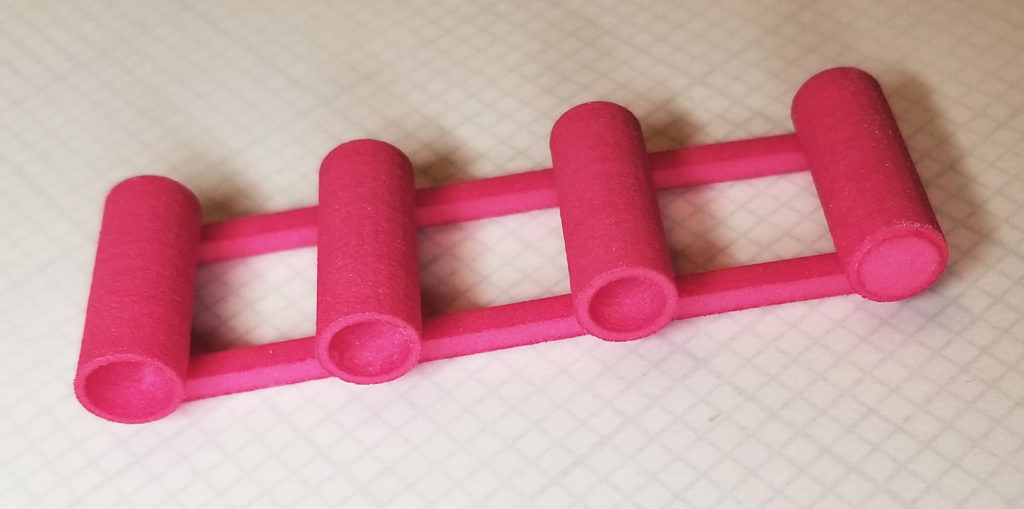
Test ferrule pen tips
When you receive the 3D model in the mail, test the fit of the ferrule and various pen nibs in it. Also pull out a pen nib from the inserted ferrule to see if the ferrule pulls out too. If they both come out as one, then the hole is too large; the ferrule spur isn’t digging into the plastic enough. Keep careful notes of your work, especially dimensions, so you know what works and what doesn’t.
You should test your creations carefully before selling them. I used my creations for weeks on my own projects to see if there were any problems, and for comfort. They were very light, similar in weight to a stock plastic straight Speedball™ holder. The handles were very stiff, not flexible, which was good. They were narrow enough to be comfortable to grip, though your mileage may vary, since no two calligraphers are alike. (This would be your opportunity should you find the available penholders out there too narrow for you — make your own in a larger diameter to fit your grip.)
Different materials have different tolerances in their dimensions. The ferrule diameter which worked perfectly in plastic was slightly too tight in aluminum, because the aluminum had no flexibility for the ferrule. The spur protrusion on one side of the ferrule could not dig into the aluminum wall. This pushed the ferrule inward and made the nib harder to insert. So the diameter needs to be a few tenths of a centimeter larger when that happens. But it sure looks cool! Surprisingly, the airy design keeps it quite light. It doesn’t feel cumbersome, like it’s weighing you down.
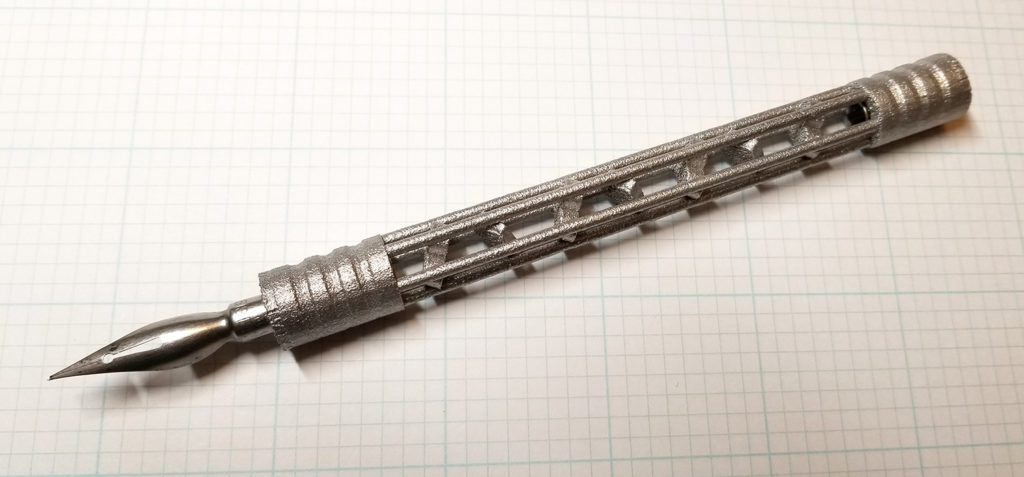
Prototype of an aluminum holder
As you can see by my vines holder below, the plastic is paintable. I used Finetec™ watercolors and acrylic paints on this piece. When they dried, I coated it with two coats of clear glossy nail coating for protection. (This needs to be done in a well-ventilated area and left to dry outside or near a window. The smell dropped to barely noticeable in about three days.)
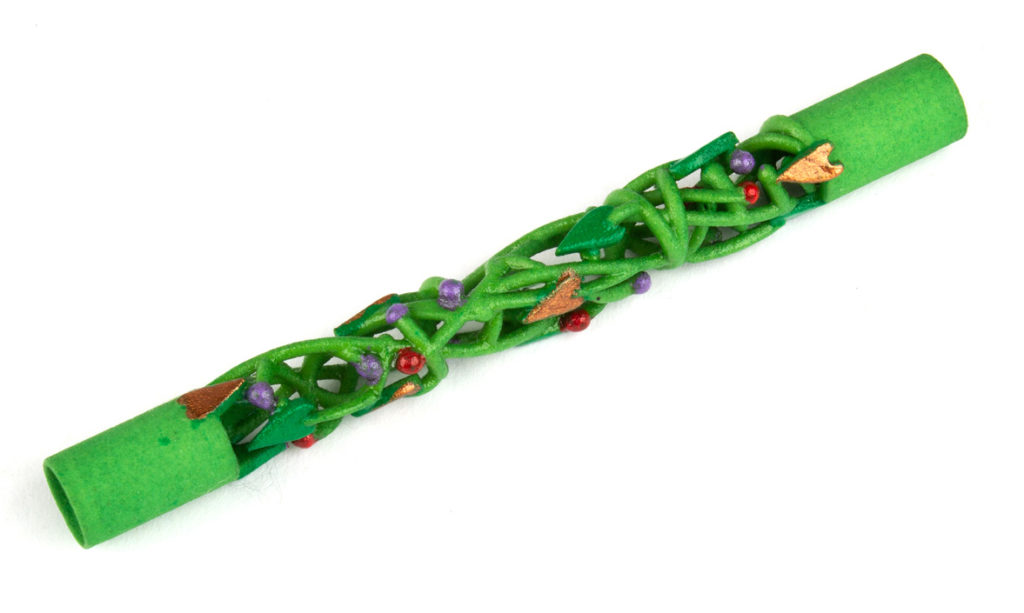
3D plastics are paintable
I recommend spraying metals with a Rust-Oleum™ coating or similar to preserve its finish. Through constant handling, our oils could discolor the bare metal. For instance, a brass version could turn darker, or develop a green patina. Luckily for us, the spray coating comes in clear as well as various colors, including sparkles. I haven’t tried this product yet. See https://www.rustoleum.com/product-catalog/consumer-brands/specialty/glitter
The customer browsing the SW online store can’t hold the pen in her hand. In my product descriptions, I give the weight of the pen holder, then compared it with the weight of a Speedball holder so the customer has a frame of reference. SW already gives the overall dimensions and a 3D rotating view of the item so it can be examined from any angle. I provided photos of the finished piece to help out further.
This is a fun venture and I’m enjoying it. As I think of more pen designs to let our inner artist out to play, I will keep on building! (Update: the website for this 3-D pen project was closed.)